

If you are considering joining the armed services,


Categories
|
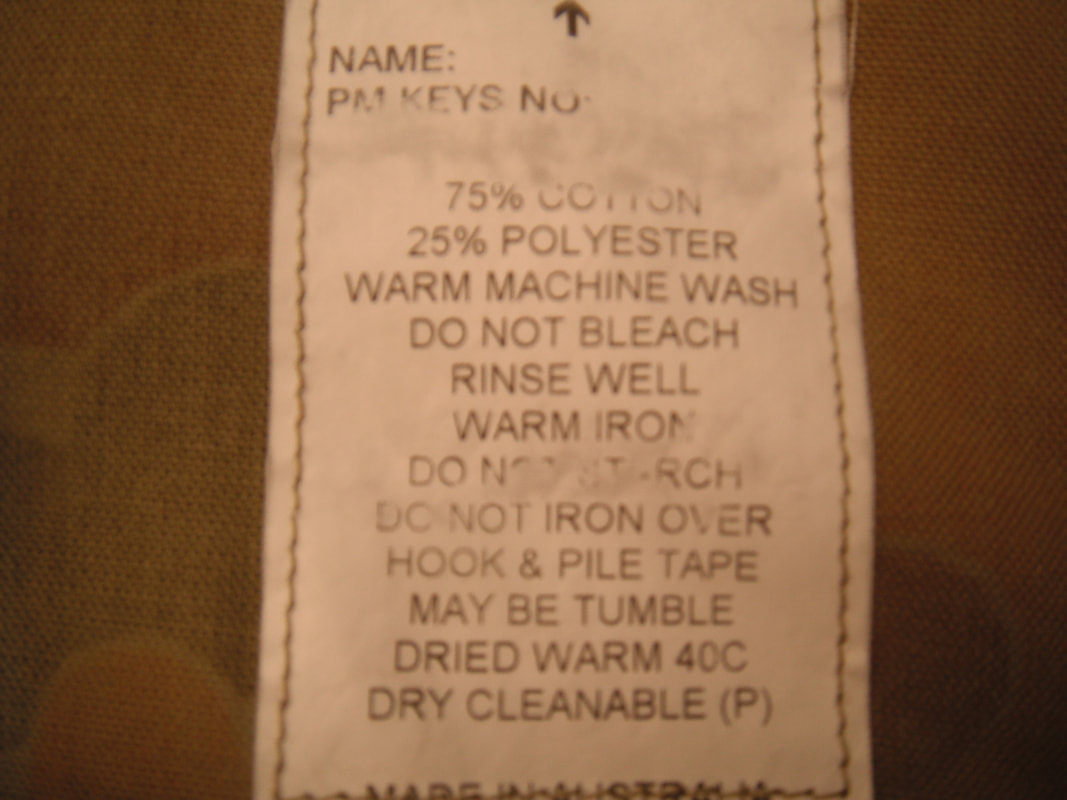
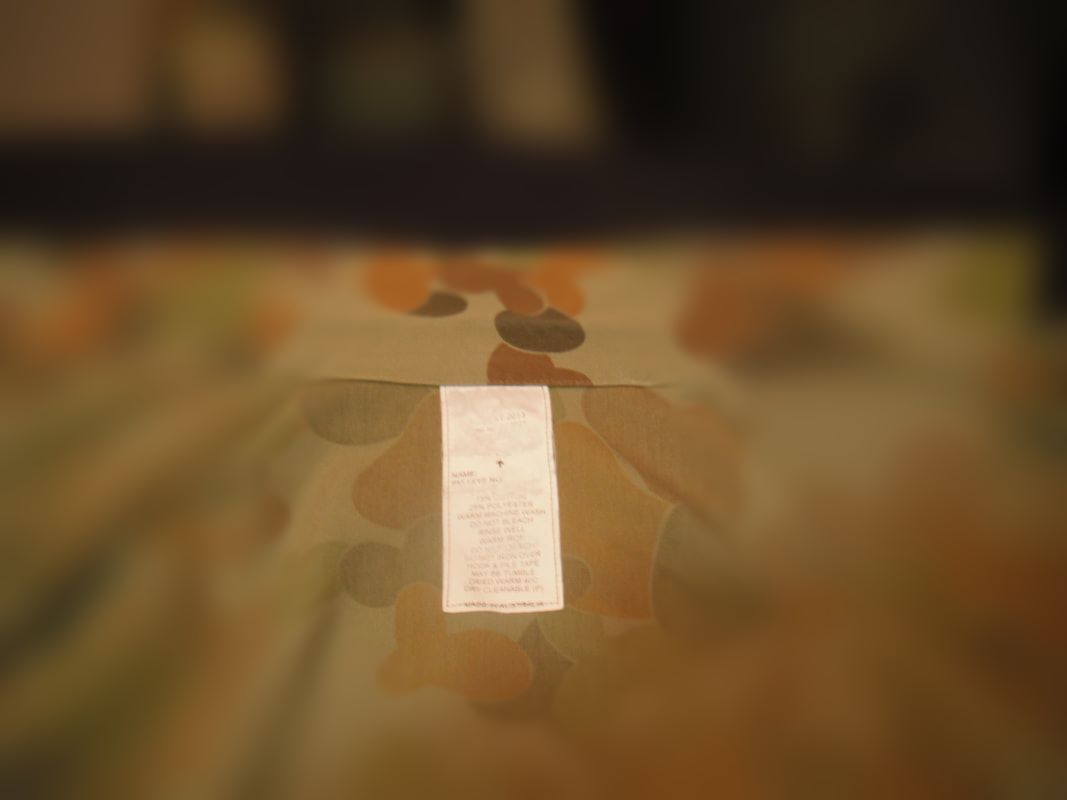
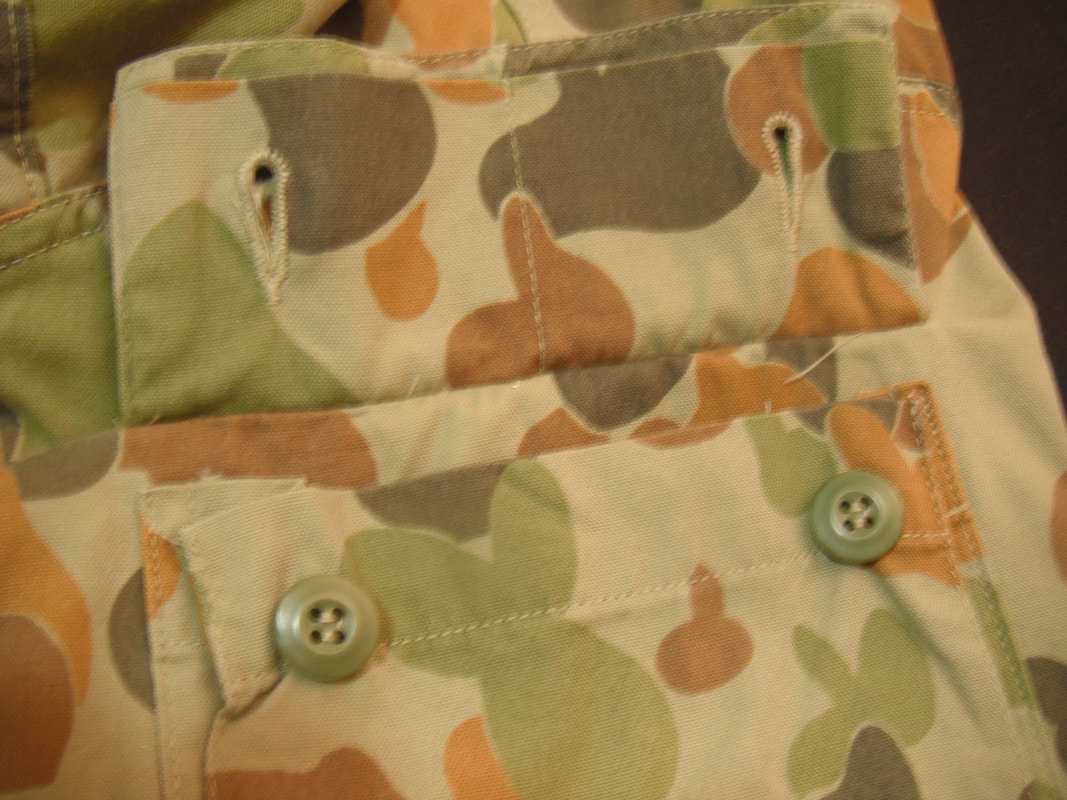
23/2/2019 0 Comments How to Iron an Australian Disruptive Pattern Camouflage (DPCU) Uniform Shirt. Also applicable to AMCU G’day Y’all, building on my blog post How to set up an Ironing Station for success! We now move on to how to iron a uniform shirt, specifically the Australian DPCU/AMCU shirt. Be sure to watch the You Tube video linked in the button below: The method and techniques discussed within this post and demonstrated within the corresponding You Tube video can be utilized on the new AMCU and on any other business shirt or button up shirt for that matter. It is beneficial to watch the How to set up an Ironing Station for success! YouTube vid and read the matching blog post to grasp the basics and ensure you are properly equipped to begin ironing. Firstly, set up your iron temperature to match the material of the shirt. A tag with ironing and washing instructions is usually located on the shirt. The DPCU and AMCU have them on the inside of the yoke facing the front opening of the shirt. DPCU = Warm iron; AMCU Warm Iron.
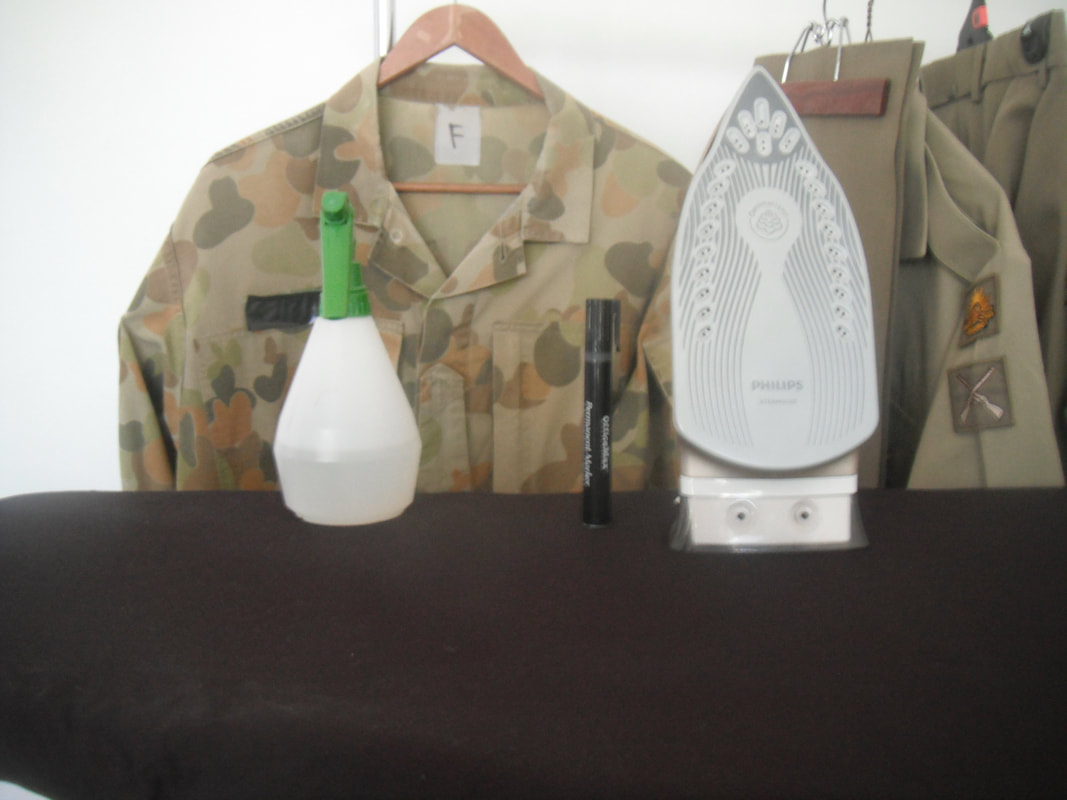
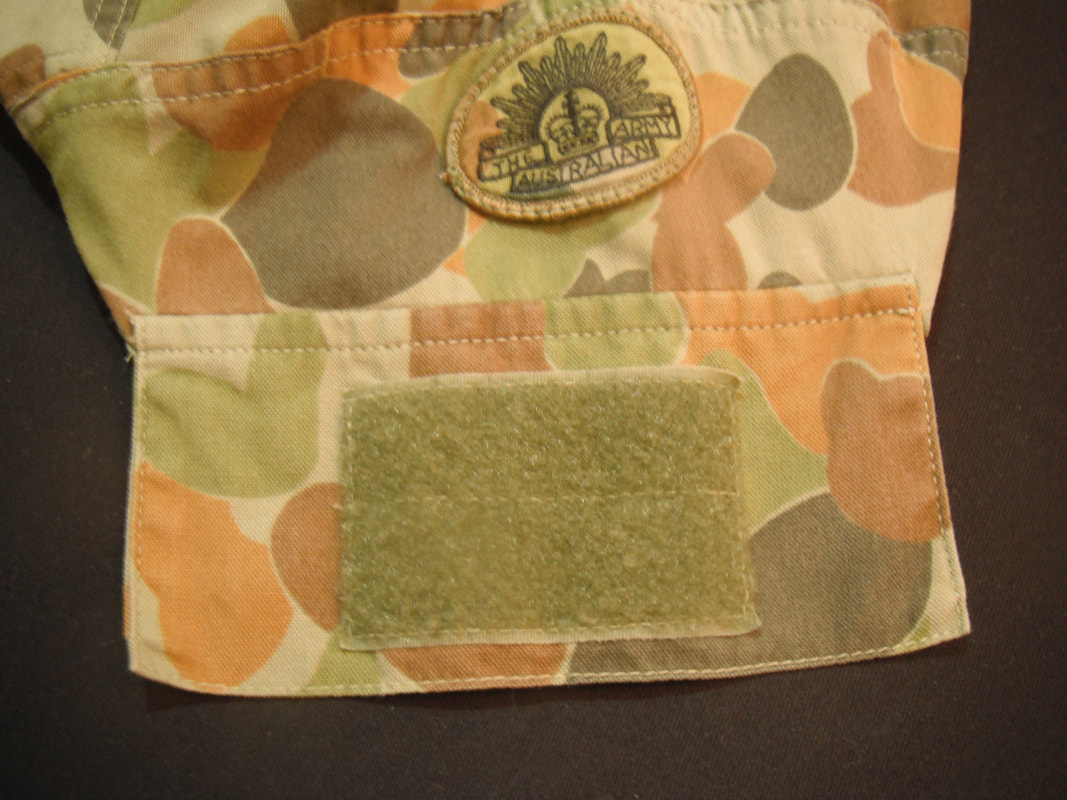
Interestingly my Phillips Steam Generator iron does not a have temperature setting and works at a constant and consistent setting. If I require more heat, I just hold the iron over the particular area and inject steam; works for me 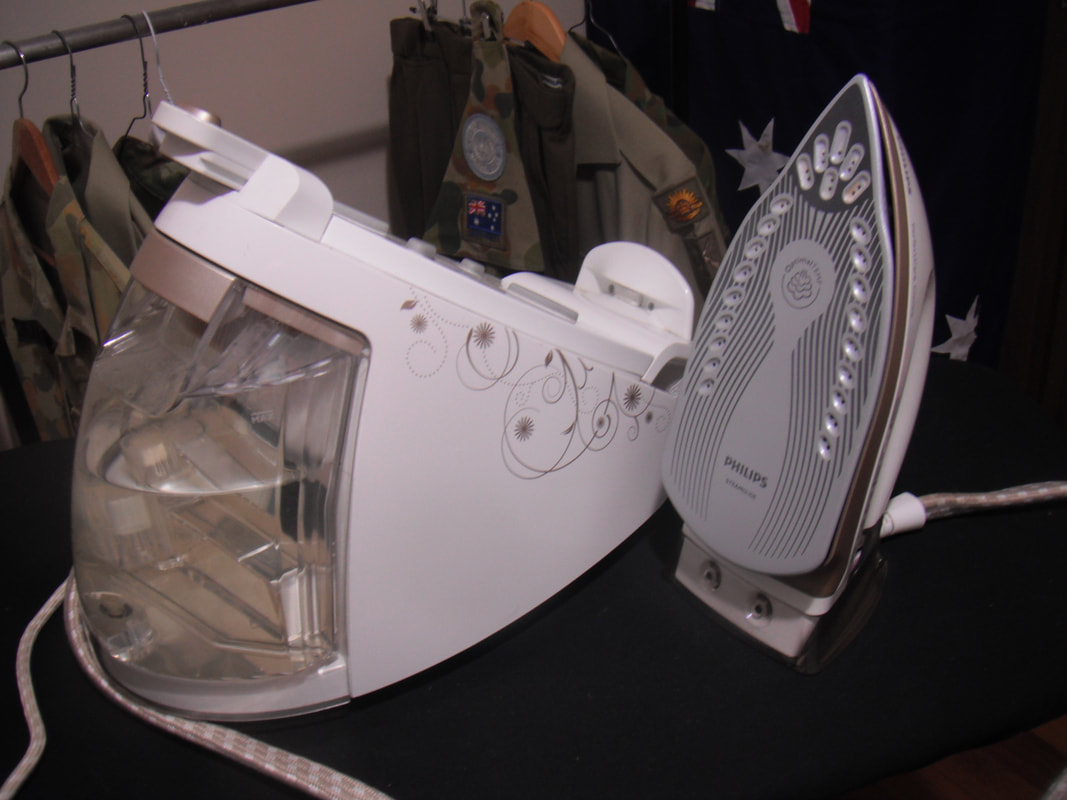 Once the iron is at temperature conduct a test iron on a separate piece of material. This ensures that the first inject of steam on your actual shirt is free of containments, crap or other corruption. This will also enable you to tell if the iron plate is clean and will travel well. If the test iron indicates any problems, fix and then continue. There are other tests to conduct prior using starch; however, since we are not using starch on these uniforms, I will save this for later posts Remember to have your thread removers and marker pen handy (see How to set up an Ironing Station for success!) We now set ourselves up for a quick and systematic method of ironing. Undo all of the sleeve pockets and Hook and Pile tabs so we are not interrupted when ironing. Using this method, we are utilizing one broad area of the ironing board and simply rotate the shirt to iron. There is no messing around changing positions from one end of the board to the other. The technique we use on all of our garments and especially for our ceremonial uniforms is characterized by the mantra: Iron, Spray, Iron. Iron – ironing (with steam) the material heats it up and allows the fabric fibers to become more susceptible to accepting water or ironing aid/starch. When using a high-quality steam iron or steam generator, you may not need to follow the spray and second iron. That is why I like my steam generator. It cuts down on time spent ironing. Spray – If wrinkles do not disappear on the first iron. Spray water onto the area. Allow to soak. Iron – Then iron the now damp area, using steam. The wrinkles will all be gone. Two recommendations: 1. The secret to ironing is to have a flat surface to iron on and a flat surface on the garment itself. Run you hand over the garment whilst it is on the board to ensure it is flat. If not, you will actually iron wrinkles into it. 2. Ironing a slightly damp garment is much easier. This can be achieved by removing the garments from the washing machine at the end of the normal cycle and hanging them up inside. They will take longer to fully dry and you can iron them in a damp state. Or conversely use your spray bottle (atomizer). Ironing the shirt The first part of the shirt we iron is the collar, sleeve pockets, sleeves and yoke. Iron the collar flat (Iron, Spray, Iron) so all wrinkles are removed, we will iron the collar crease later. The more times a shirt is ironed the better the collar will be” trained”. That is to say the collar will retain its ironed creases and will become easier to iron. More on the collar and training it later. 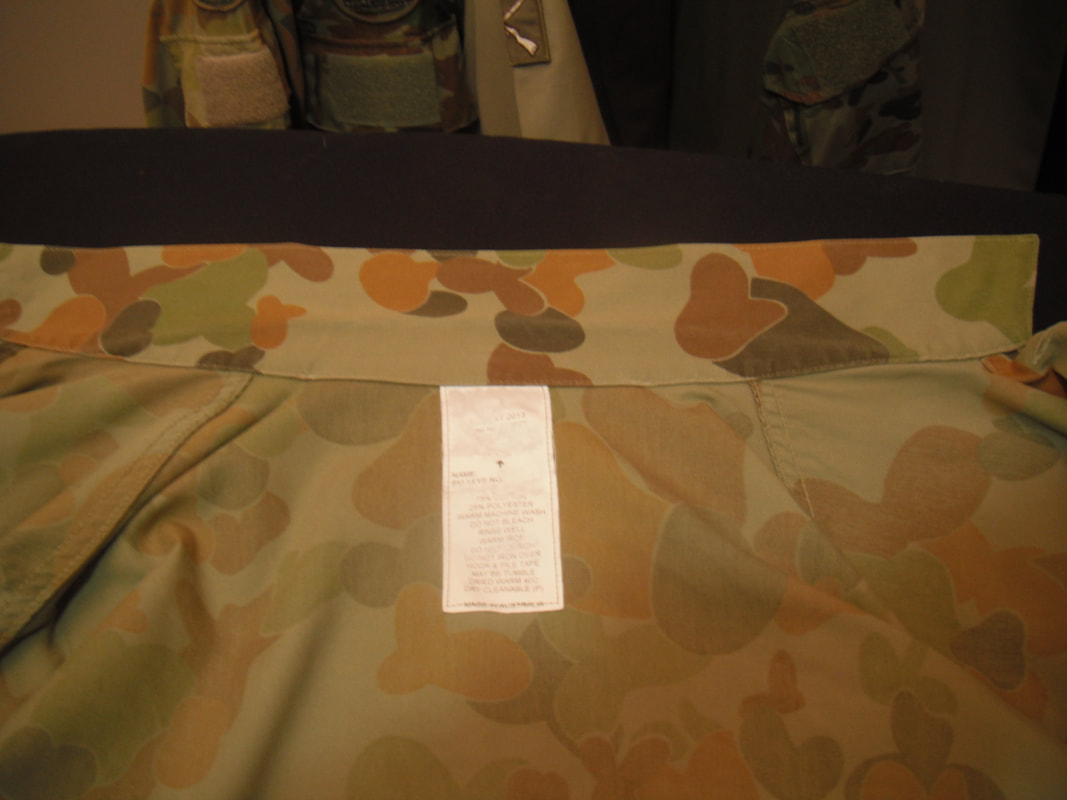 Iron the sleeve pockets. Undo the pocket buttons and lay flat to iron (Iron, Spray, Iron). It is important to do this. You may be tempted to try and iron around the buttons whilst they are fastened; however, invariably the iron will contact the buttons and it will leave the button impression on the fabric. It is very easy to spot when a button has been ironed over. Remember we are after a professional finished product
Tip: After the garment has been worn and washed a few times you may find that the sleeve pocket may not need a through iron. This is where the steam generator is very handy; use a vertical burst of steam to hit the wrinkles on the pocket and move on with ironing the rest of the shirt. Iron the sleeves. Lay the sleeves flat. It is best if the sleeve tabs are undone. I find the seams of the sleeves should be positioned as the border and you iron between them. This ensures there is no crease placed inadvertently in the sleeve. 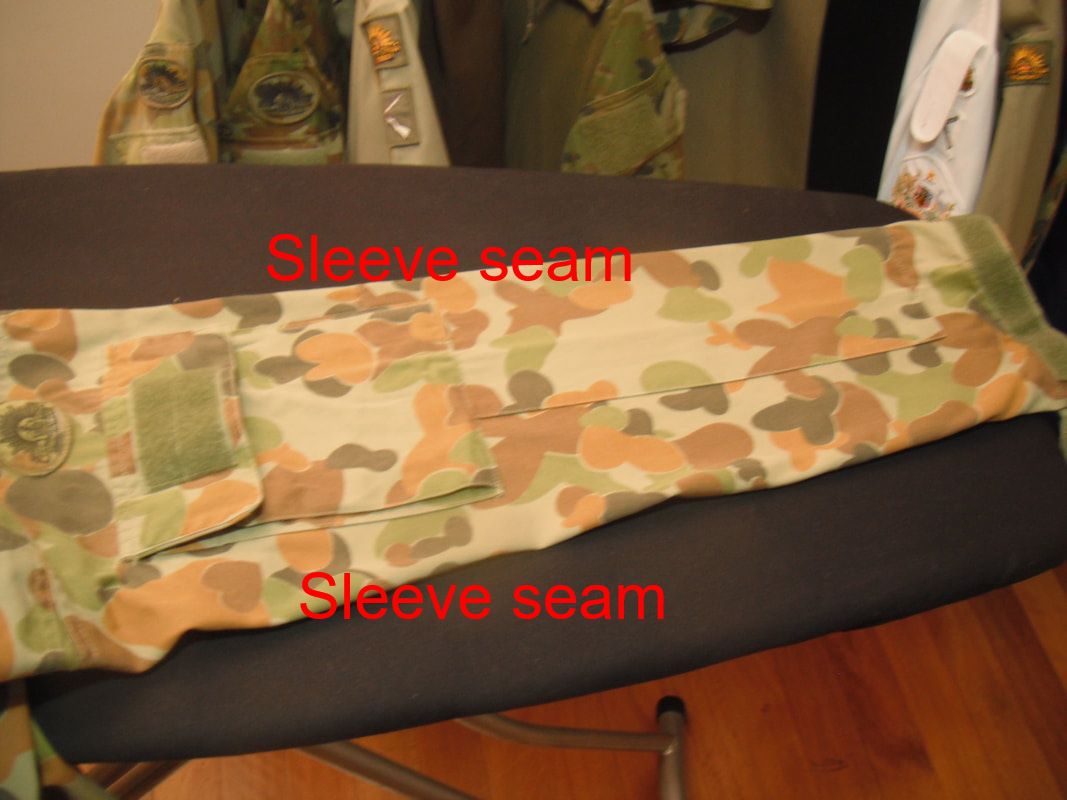 Tip: Using our ironing mantra (and a good steam generator) you will usually only need to iron one side as the steam and pressure will exert enough to rid the wrinkles on the other side. Iron the yoke. Turn the shirt over and iron the yoke on the large broad end of the ironing board. This is the only part of the board we will use for ironing the shirt. You will need to reposition the shirt to iron the yoke in two halves  Once the yoke is ironed you are now ready to iron the shirt front, collar crease and back. We iron the shirt systematically buy rotating the shirt over the board. As we finish one side we rotate and start the next. Tip: If you have a new shirt train the collar before ironing the shirt body. My recommendation is to train the collar before progressing (see the Train the Collar segment). Train the collar. Ironing the collar of a new shirt is important. If it is done correctly at the beginning o the shirts service life you will always have a perfectly aligned collar seam for every other ironing session. Using the same broad end of the ironing board, place the shirt on centrally and fasten the buttons. It is as if the ironing board is wearing your shirt. This allows you to fold both sides of the collar over and align them some they are symmetrical and are a mirror image of each other. Ideally the collar should commence from just above the top button, there is a double stich area to indicate this. Iron the side with the rank slide first and then align the other side with this. Once you are satisfied with the alignment, heavily iron and pressure the collar. This will train the collar to remain in this position. Now every other time you iron the shirt the collar will naturally sit in that position, making your ironing life that much easier.  Train the collar setup. Also notice the button impression left from ironing over the button. You should only need to train the collar once on a new shirt. Skip this step when not required. Shirt front. Lay the shirt flat and use the seams of the side of the shirt to align with the inside edge of the ironing board. Iron the entire shirt front, except for the collar. You may need to reposition the pocket zipper to maintain a flat surface when ironing around the shirt pocket. 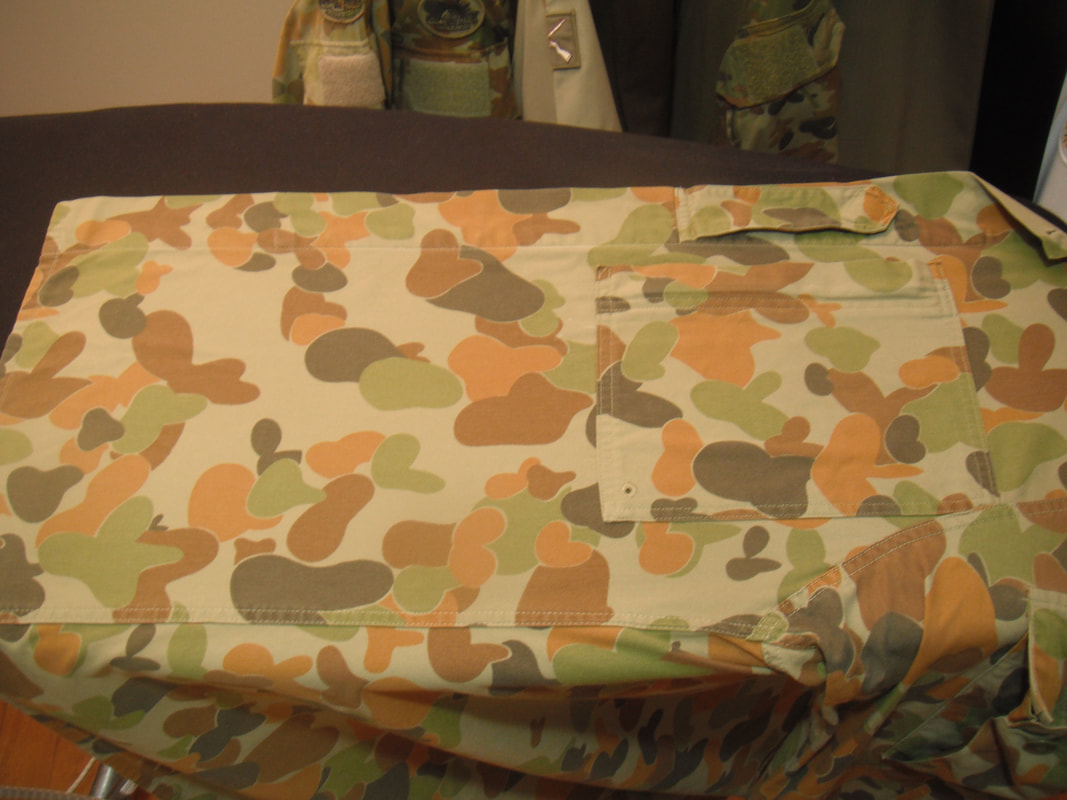 Shirt Collar. Align the shoulder seam with the top edge of the ironing board. This mimics where the collar sits when you are wearing the shirt and allows you to press the collar accordingly. Be careful to iron around the button, as once again, if ironed on the impression will be noticeable. I have seen people remove the collar button in order to prevent this. As you have ironed the shirt front previously you only need to concentrate your effort on the collar area. 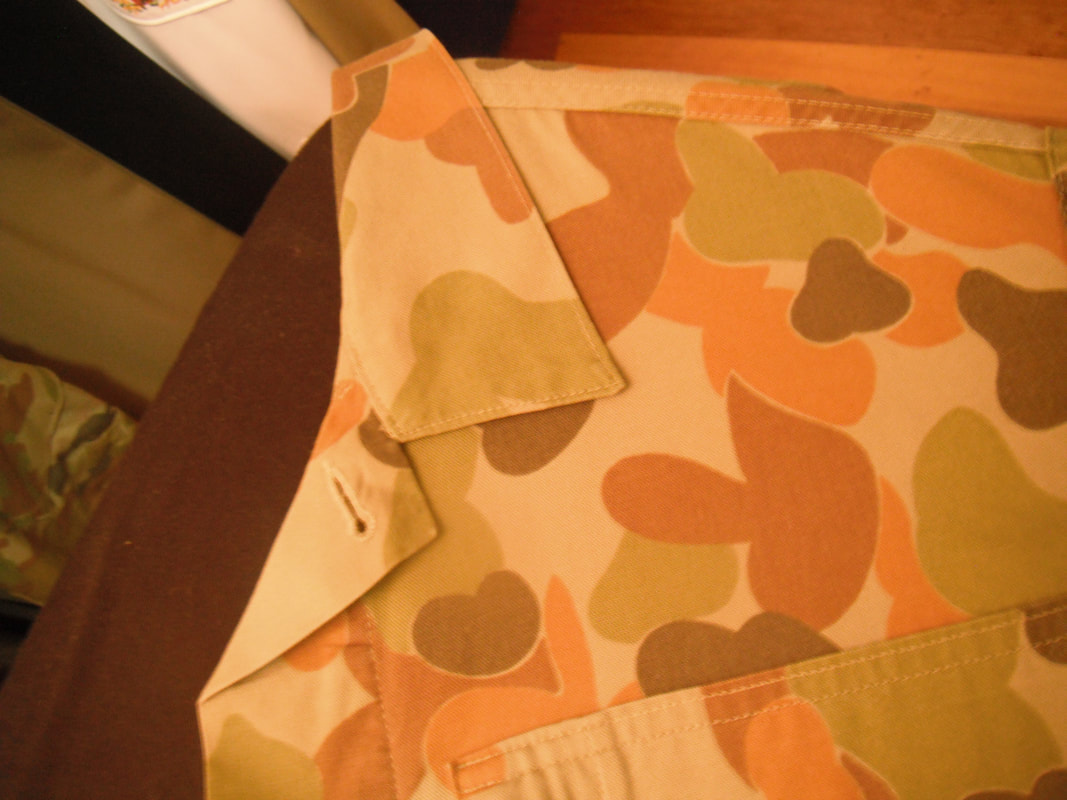 Once the first front and collar are ironed rotate the shirt to commence the back Shirt Back. Typically, the easiest part of the shirt to iron. The yoke area has already been done so lay the shirt flat and iron. The shirt back will need to completed in two halves due to the width of the ironing board. 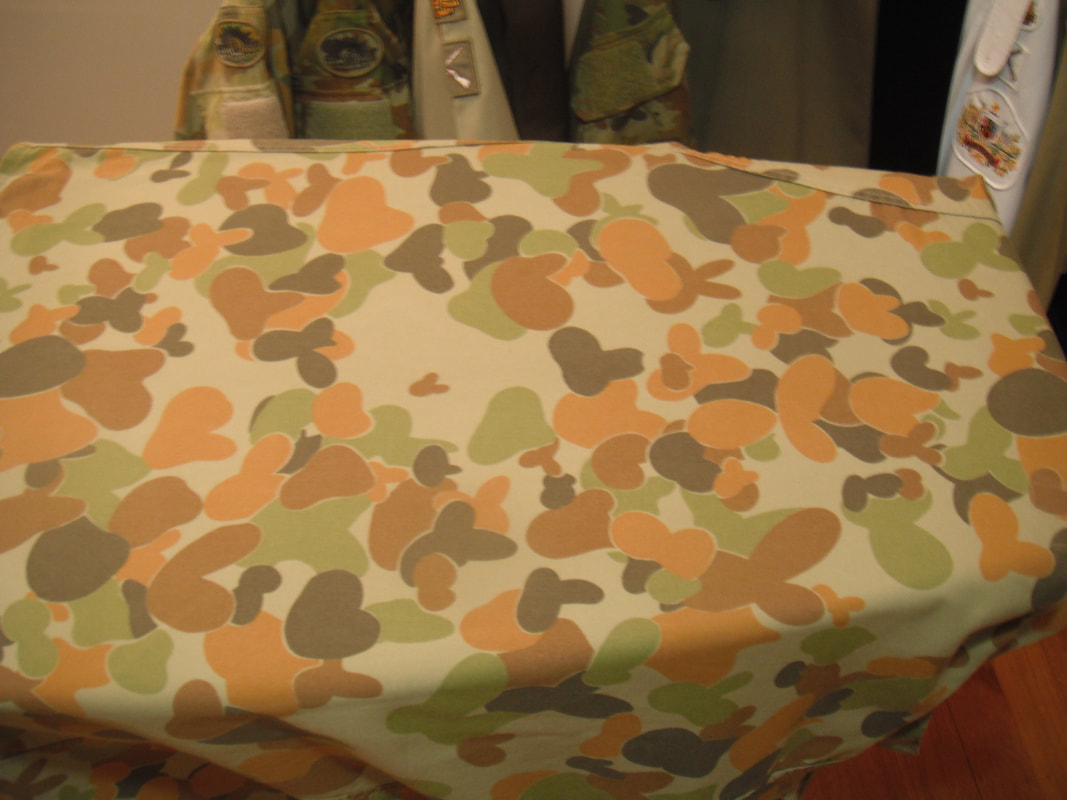 Notice how you can iron a greater surface area using the broad part of the ironing board. Now rotate the shirt to iron the last shirt front Shirt Front (2nd time occurring). Use the same procedure for the shirt front previously discussed. Congratulations, you have now ironed the shirt. The next steps ensure it is kept in a perfect state prior to wearing. Hang the shirt.
Remember the same method also applies to the AMCU.  Please let me know if you have any comments/questions in the section below. Happy to discuss or answer. Thanks for your time. Regards Ash from Ash Applications 
0 Comments
|
AuthorAsh from Ash Applications, Military Professional 30 years experience. Here to guide your professional development. how-to-set-up-an-ironing-station-for-success.htmlClick to set custom HTML
|
 RSS Feed